Add a Vendor
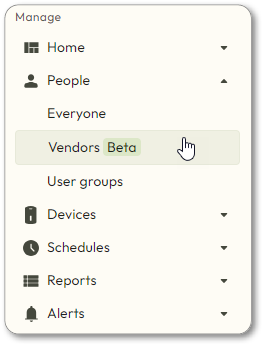
- Navigate toPeople>Vendors.
- Click theAdd a Vendorbutton in the top right corner.
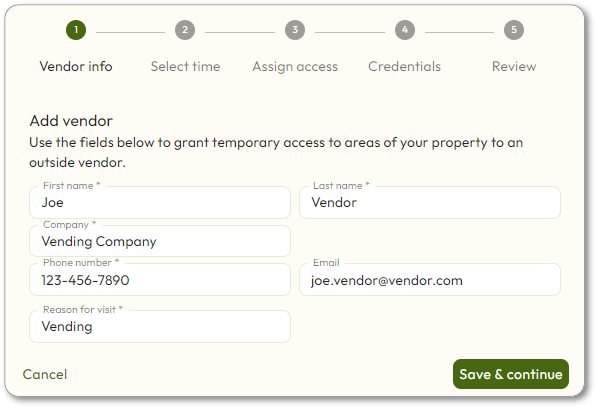
- Enter the vendor information:
- First name
- Last name
- Company
- Phone number
- Emailis optional
- Reason for visit
- ClickSave & continue.
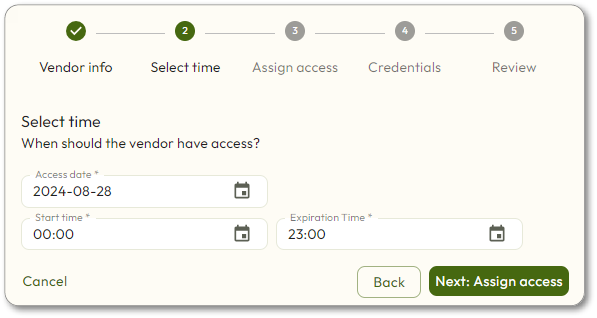
- Select when the vendor will have access:
- Access date:The date the access will begin. Default is the current day.
- Start time:The time the access will begin. Default is 0:00.
- Expiration time:The time the access will expire. Default is 23:00.
Vendor access can only be set on the hour:00. Some devices cannot process the expiration times down to the minute, so we are forced to set all devices by the hour for this feature. - ClickNext: Assign access.
- Assign property access:
- ChooseDevice groupsand/orDevices
- ClickNext: Credentials.
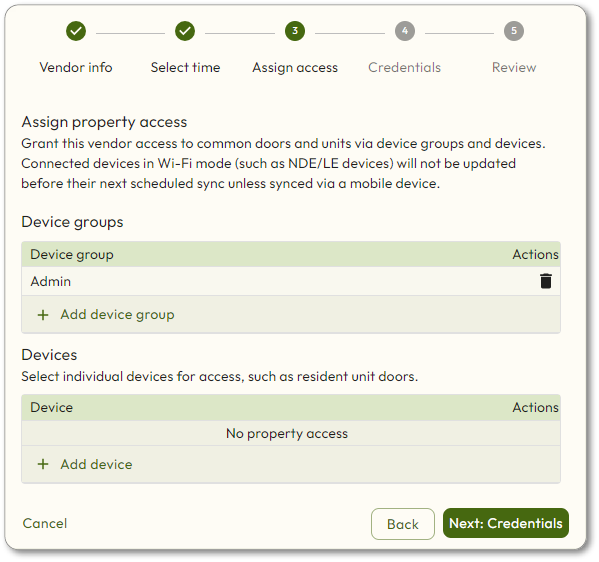 When no tour is NOT enabled for wireless locks, the user will see the above text. When a site has no tour enabled for wireless locks, the screen and messaging will be updated to reflect that.
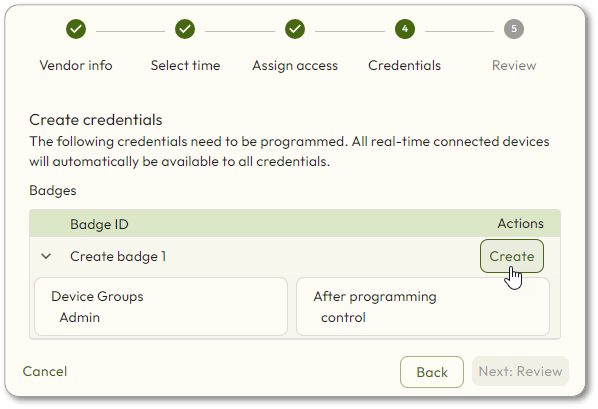
 - Credentials:
- Click
 next to Create badge [#]to verify which device groups and/or devices you have chosen.
 - Click theCreatebutton.
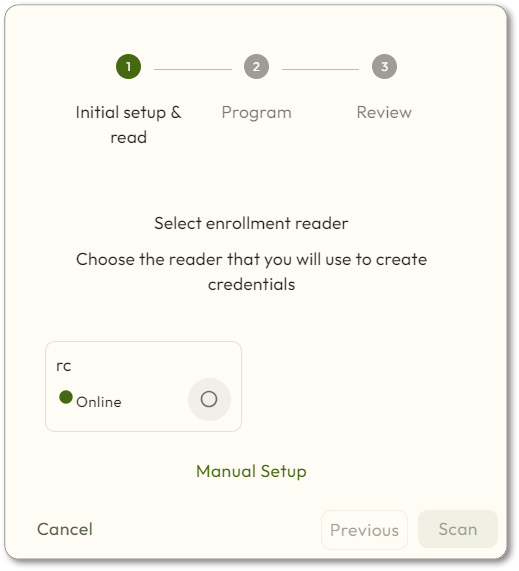
- Click the radio button next to the enrollment reader you want to use.
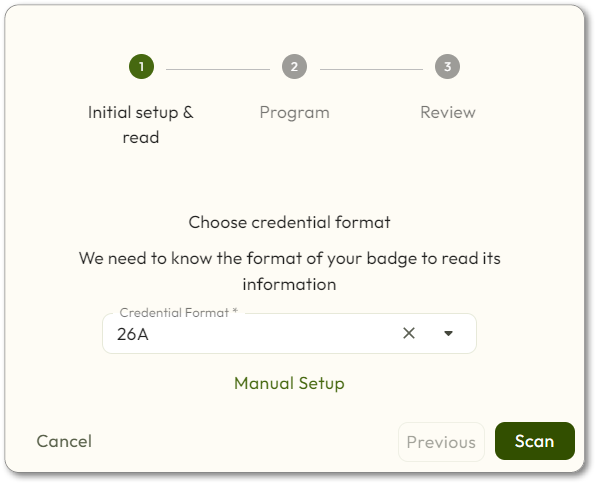
- Leave everything as is on theInitial Setup & Readpage.
- ClickScan.
- Tap the fob against the center of the enrollment reader.
- Confirm that the Badge ID matches the one written on the fob.
- There will be a check to see if the fob needs to be programmed.
- More than one fob may be required. (*See note below.)
- Wait until there are blue flashing lights on the enrollment reader. Then, hold the fob against the center of the reader until the light turns green and you hear a confirmation tone.
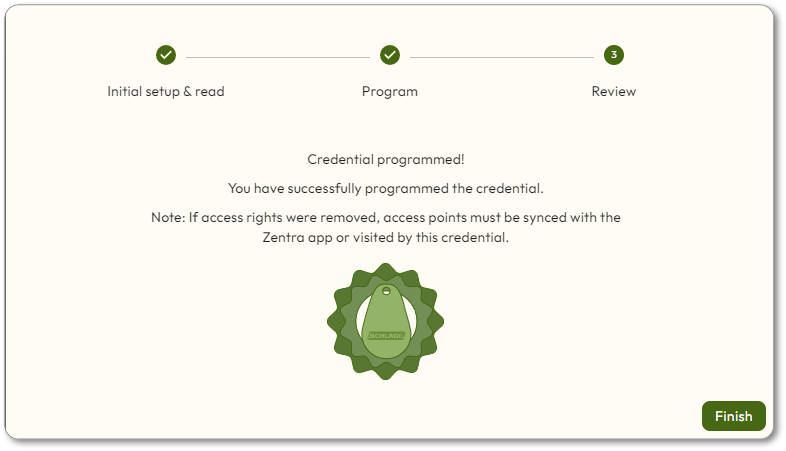
- ClickFinishon theReviewpage to exit the credential programming modal and return to finish the Vendor creation modal.
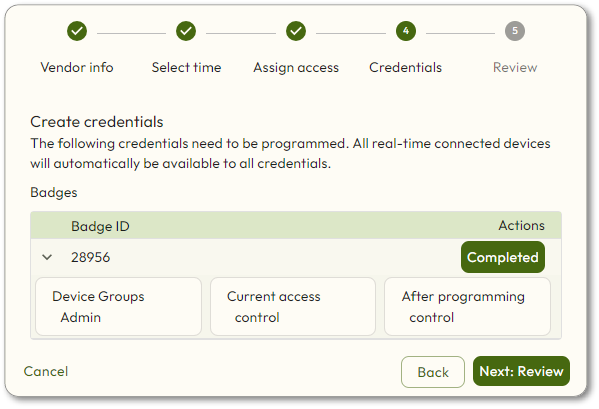
- You’ll see the badge number pop up underBadge IDin place ofCreate Badge [#]. ClickNext: Review.
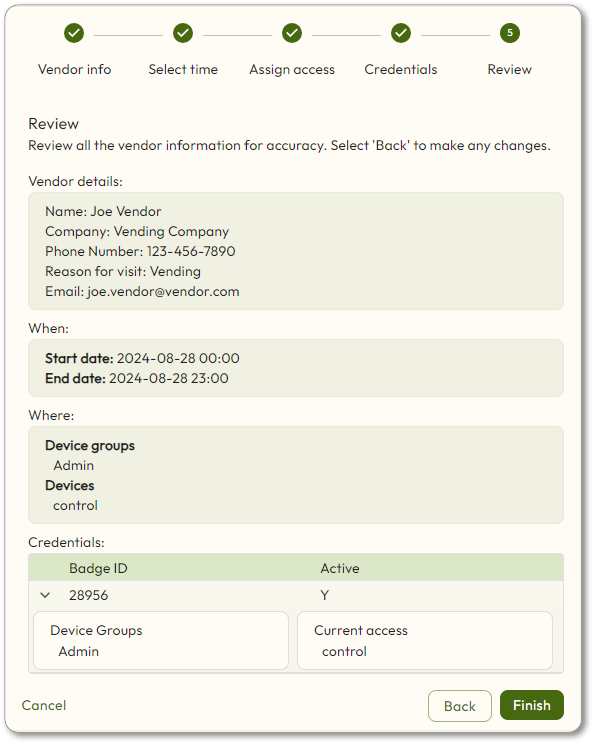
- You will see the Review page. Check to make sure all of the information is accurate, then clickFinish.
Each fob can contain access for up to 11 devices. If access to more than 11 devices is required, an additional fob will be necessary for every 11 devices.