Using the .csv File to Import Users
Before continuing, please note that the of the template file, including proper , is very important.
formatting
capitalization
Any incorrect or extraneous information may have unintended results and/or
cause the import to fail
. If you have any questions or would like your import to be tested, feel free to contact the help desk for assistance.Note
: Modifying and/or removing
any of the column headers from the template will cause the import to fail
.Note that row 1 (containing the column headers)
must remain as is
for the import to be successful. Zentra is looking for specific data so these fields must remain exactly
as they are found in the template. - Download and open the template CSV file and input the User(s) information. The only required fields for importing someone (withouta credential) areLastNameandFirstName.
- There are additional requirements when importing User credentials that will be covered in-depth on the next page.
- Note: In order to import multiple credentials for the same person, the User must be added to more than one row of the CSV (one row for each credential being added).
- To add users to User groups, populate theUserGroupscolumn using the following formatting and notes:
- Ensure that the User group(s)in Zentra. The User importalready existcreate new groups.does not
- Ensure that the capitalization and punctuation of the group(s) are identical.
- To add someone to multiple groups, you will need to separate the names of the groups with a semi-colon (;)withoutspaces in-between.
- For example, to add someone to theandAll Residentsgroups, the cell would contain: All Residents;Property ManagersProperty Managers
- If areas arenotbeing used in this site, theAreaNamecell should be left empty.
- If areas are being used in this site, please review the following formatting and notes:
- Ensure that the Area(s)in Zentra. The User importalready existcreate new areas. If andoes notAreaNamecell is populated with an Area that does not exist in Zentra, the User will be placed inCOMMON.
- Populate theAreaNamecolumn.
- Ensure that the capitalization and punctuation match the Area(s) in Zentra identically.
- The columns titledCountLimitFlag,RemainingUses, andExpirationDateare optional, but please note that these column headersfor the import to function.must remain in the CSV
- If you do not wish to include a credential expiration date or usage limit, skip ahead to step 5.
- If you wish to set anExpirationDateon one or more credentials, you can do so using the date format:yyyyMMdd
- Example: April 1st, 2028 would be20280401
- If you wish to set a usage limit on a credential:
- CountLimitFlagmust contain a lowercase “” (for “true”).t
- RemainingUseswill be the number of times the credential can be presented before it is deactivated.
- ClickImport Users.
- Drag the.csvfile into the upload Area then click

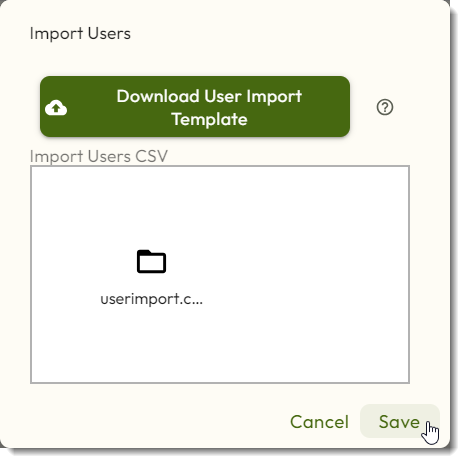
- If any errors are found, a table will be displayed noting the issues. If you hover over the red cell with your mouse, you will be able to see helpful tips on the exact error discovered.

- Use this feedback to update the CSV file, then try importing again.
- If no errors are found, clickProceed with import.
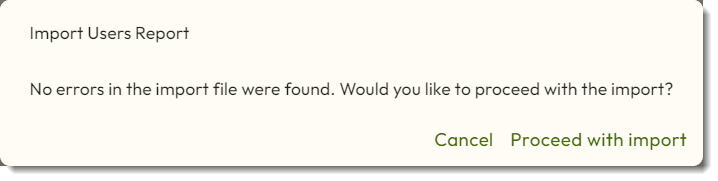
- Note that depending on the size of the import, it could take anywhere from a few seconds to a few minutes to complete.
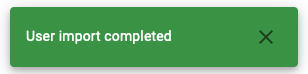
- You can continue to use the application while the import is being processed in the background. A notification will let you know that the import has completed.
Credential Requirements
There are four fields of the CSV file that must be formatted properly before credentials will import successfully:
CardFormat
(column F), Hotstamp
(column G), FacilityCode
(column I), and IssueLevel
(column J).How these fields need to be filled depend on the card format(s) being imported.
Please review the chart on the next page for details.